scikit-imageのお勉強 第5回 exposureモジュール ~露出補正~
scikit-imageの便利機能の備忘録シリーズ。
これまでの回はコチラ。
第1回 dataモジュールとioモジュール ~画像の入出力~
第4回 transformモジュール ~拡大縮小・回転・アフィン変換~
今回は第5回です。exposureモジュールについてメモしていきます。
exposureモジュール
露出補正についての機能を含むモジュールです。
公式ページ:Module: exposure — skimage v0.14.0 docs
以下の関数とその効果をざっと紹介します。
exposure.equalize_histexposure.equalize_adapthistexposure.rescale_intensityexposure.adjust_gammaexposure.adjust_sigmoidexposure.adjust_log
まずは準備。
%matplotlib inline
import matplotlib.pyplot as plt
import numpy as np

from skimage import exposure, data, color

def image_show(img):
    try:
        h,w,c = img.shape
        plt.figure(figsize=[float(w/100),float(h/100)])
        plt.title(f'w={w}, h={h}')
        plt.imshow(img)
    except ValueError:
        h,w = img.shape
        plt.figure(figsize=[float(w/100),float(h/100)])
        plt.title(f'w={w}, h={h}')
        plt.imshow(img,cmap='gray')
    plt.xticks([])
    plt.yticks([])
    plt.show()

rocket = data.rocket()
image_show(rocket)
rocket_g = color.rgb2gray(rocket)
image_show(rocket_g)
・元画像

・元画像(グレー)
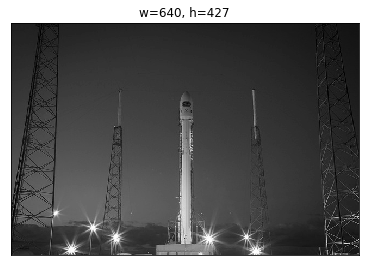
はじめの3つを実行
exposure.equalize_histとexposure.equalize_adapthistはカラー画像で実行するとエラーがでました。
・code
image_show(rocket_g)

hist_img = exposure.equalize_hist(rocket_g)
image_show(hist_img)

hist_img = exposure.equalize_adapthist(rocket_g,kernel_size=50)
image_show(hist_img)

hist_img = exposure.rescale_intensity(rocket_g, in_range=(0, 0.5))
image_show(hist_img)

hist_img = exposure.rescale_intensity(rocket_g, out_range=(0, 0.5))
image_show(hist_img)

image_show(rocket)

hist_img = exposure.rescale_intensity(rocket, in_range=(0, 127))
image_show(hist_img)

hist_img = exposure.rescale_intensity(rocket, out_range=(0, 127))
image_show(hist_img)
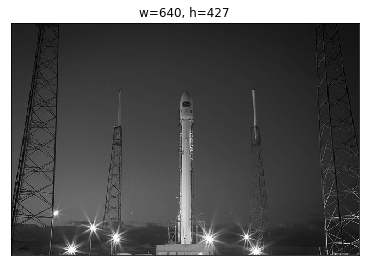
・元画像(グレー)
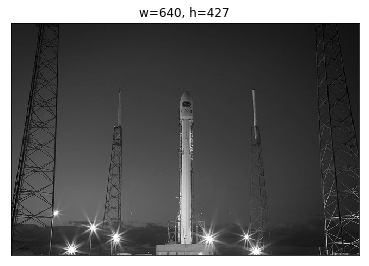
・exposure.equalize_hist
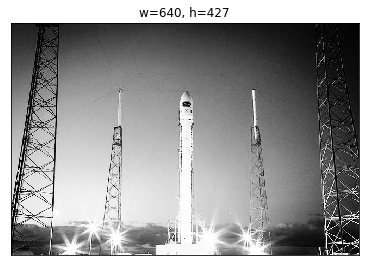
・exposure.equalize_adapthist

・exposure.rescale_intensity(in_range=(0, 0.5))

・exposure.rescale_intensity(out_range=(0, 0.5))
・元画像
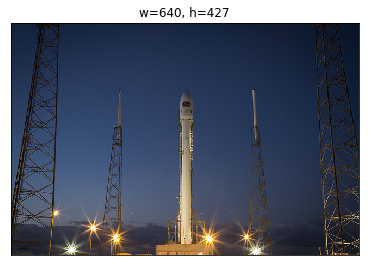
・exposure.rescale_intensity(in_range=(0, 0.5))
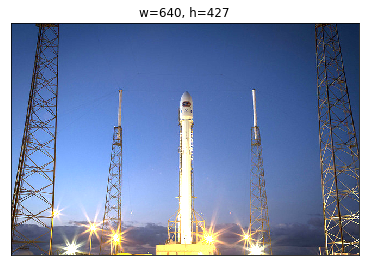
・exposure.rescale_intensity(out_range=(0, 0.5))

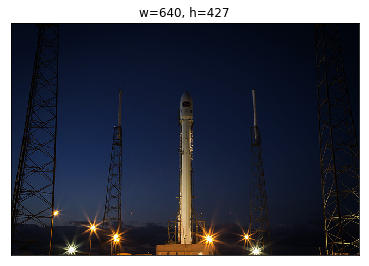
exposure.adjust_gamma
gammaの値を色々変えて効果の違いを見てみます。
・code
image_show(rocket)

for i in np.arange(1.2,1.7,0.2):
    print(f'gamma={i:.1f}')
    hist_img = exposure.adjust_gamma(rocket,gamma=i)
    image_show(hist_img)
・元画像
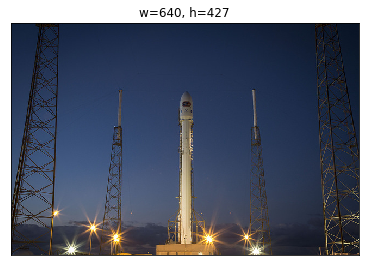
・gamma = 1.2
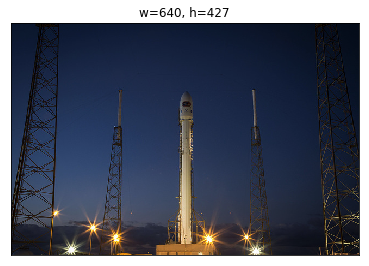
・gamma = 1.4

・gamma = 1.6
exposure.adjust_sigmoid
cutoffとgainをいじります。
・code
image_show(rocket)

for i in np.arange(2,9,4):
    print(f'cutoff=0,gain={i:.1f}')
    hist_img = exposure.adjust_sigmoid(rocket,cutoff=0,gain=i)
    image_show(hist_img)
    print(f'cutoff=0.5,gain={i:.1f}')
    hist_img = exposure.adjust_sigmoid(rocket,cutoff=0.5,gain=i)
    image_show(hist_img)
    print(f'cutoff=1.5,gain={i:.1f}')
    hist_img = exposure.adjust_sigmoid(rocket,cutoff=1.0,gain=i)
    image_show(hist_img)
・元画像
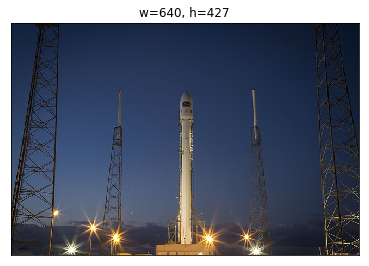
・cutoff=0,gain=2.0
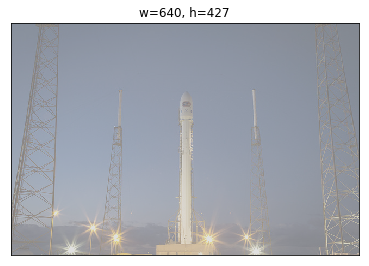
・cutoff=0.5,gain=2.0

・cutoff=1.5,gain=2.0
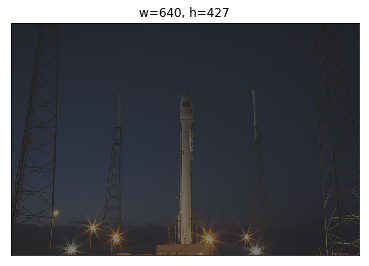
・cutoff=0,gain=6.0
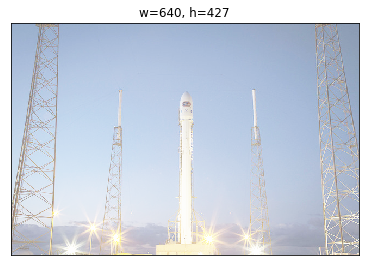
・cutoff=0.5,gain=6.0
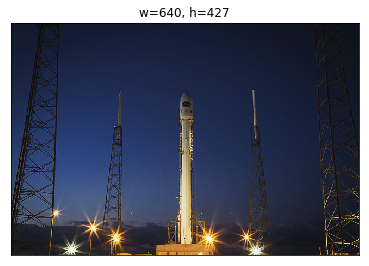
・cutoff=1.5,gain=6.0

exposure.adjust_log
gainを調整してみます。
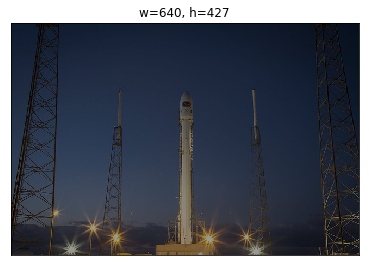
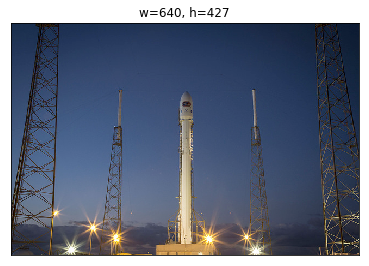
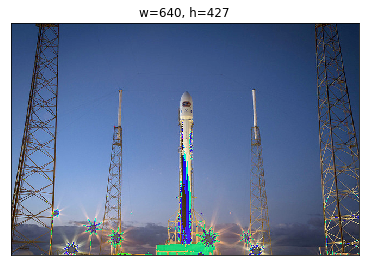
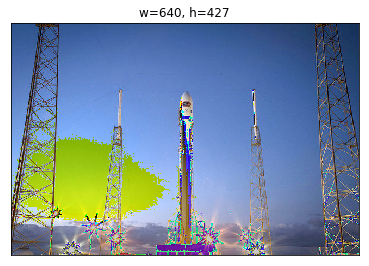
image_show(rocket)

for i in np.arange(0.2,2,0.4):
    print(f'gain={i:.1f}')
    hist_img = exposure.adjust_log(rocket,gain=i)
    image_show(hist_img)
・元画像
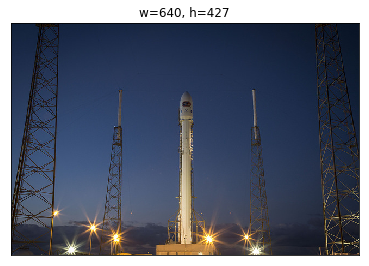
・gain=0.2
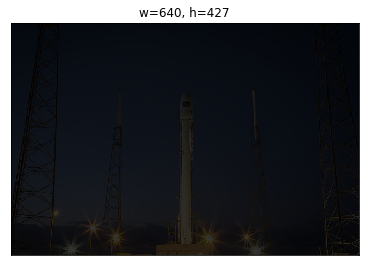
・gain=0.6
・gain=1.0
・gain=1.4
・gain=1.8
各々の関数の雰囲気を探ってみました。
解説なしでスミマセン。